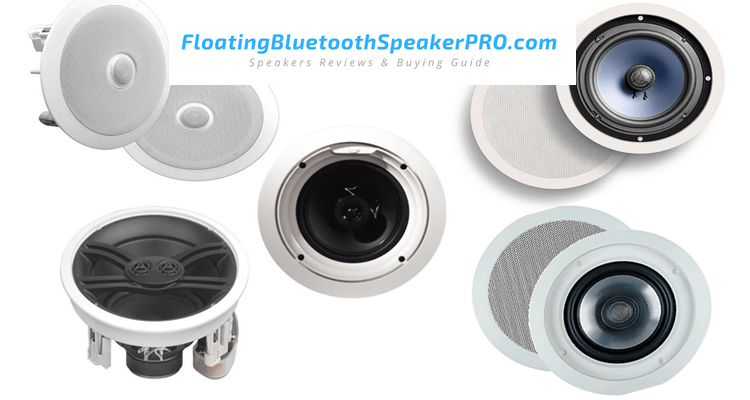
Installing in-ceiling speakers is one of the best ways of getting better sound output and creating an awesome home theater ambiance. But besides sound and entertainment purposes, learning how to install ceiling speakers also offers you an opportunity to maximize your floor space while boosting the esthetics and decor value of your rooms. Additionally, installing speakers in your ceiling allows you to remove clutter your house and saves you the hassles that come with massive floor-standing speakers.
The aim of this article is to furnish you with the necessary information you need to install these sound systems in your ceiling. These instructions are simple and easy to follow because they provide you with the necessary steps you need to follow from first to last. Irrespective of your aim, you can use these steps to enrich the entertainment ambiance of your house, connect your music system to your bathroom, living room, bedroom, and even kitchen so that you can always keep in touch with your best music.
Related: How to Install Outdoor Speakers Step By Step Guide
Related: Tips On How To Choose The Best Outdoor Speakers
Related: How to install In-Wall Speakers – Step by Step Tips
Select an ideal placement position
Since you are going to install the speakers into a permanent location, you need to choose the location carefully. You need to be sure it is the best place so that after you have installed them, you will not regret your decision and run into unnecessary hassles of relocating them. This selection should be a part of your initial planning session.
Don’t overlook the wiring of the house
Another initial step you need to take is establishing where the wiring of the house runs through. Take time to locate where these wires are passing and avoid drilling holes in the ceiling sections that have wiring.
Gather all the tools in place
After ascertaining that the location is appropriate for installation, you need to gather your tools ready to begin the installation process. Some of the tools you will need are: a pencil and template to mark out the installation area; a wire cutter for stripping the wires; a screwdriver; a box cutter; goggles to protect your eyes; a ladder; a laser level and; a keyhole saw.
Carve the installation spaces
This stage will involve you cutting the hole in the ceiling to install the speakers. You can use a pencil and the template that comes with the speakers to trace the spaces for the speakers on the wall so that you can carve it accurately. After tracing the ceiling sections, you can employ the box cutting machine to scour out the selected areas you have already traced, ready for cutting. Using the keyhole saw, take off the cutout parts of the areas you had traced. At this juncture, the ceiling is ready for fixing the speakers.
Installing the speaker
Now, you need to fix the speaker in the right place. First, ensure that the speaker fits well in the hole you cut before screwing it. You will need to push the speaker into the hole so that it fits tightly before connecting the wires. The next stage will entail you removing the grill from your speakers, and then make the connection of the wires to the speakers. Afterwards, use the screws to fit the speakers in the holes tightly. Next, you can return the grill back to the speaker then test the quality of sound production before completing the installation process.
Closing remarks
This post has been a simple guide on how to install ceiling speakers. The process is easy as long as you follow the simple steps we have shared in this article. Moreover, you can use this guide to do the installation in any room of your house. All you have to do is to: locate the ideal location on the ceiling; gather your tools; carve the holes; install the speakers; test the speakers and; then enjoy your music.
(More info: https://www.electronichouse.com/how-to/how-to-install-in-ceiling-audio-speakers/ s3.amazonaws.com/szmanuals/114a8e492c41a95b34724b86abb4a22f )


Leave a Reply
You must be logged in to post a comment.